
The current versions have a tagging Windows system for proper file access and management. But only a few people know about this feature. They have not yet tried it, so they follow the old technique of searching and accessing files on their computers.
Well, finding any specific file from a massive collection of folders is a daunting and time-consuming process. But you can minimize your hassle by using the feature of tagging. One can utilize tags for labeling files and categorizing them as needed. Many third-party applications also provide an effective option for tagging for Windows.
This process can manage all your files and let you explore them quickly. Going through the bulk folders and finding a single file out of it will no longer be messy. Sometimes, it is tough to remember the file names on which you have worked recently. But tagging can make things simple and minimize your efforts.
Steps for File Organization by Using the Tagging System
1. Select a Base for Keeping Your Files
It is simple to tag files and store them in different applications. You can try several free or paid storage applications to keep the files. This feature is applicable in current versions of Windows; you can utilize it to handle your files effectively. Different storage base for your files:
File Explorer
Generally, the steps are quite the same in both Windows versions for tagging files. You can find any file you require to attach the tag and right-click it to choose the Properties. One will notice the Details section, which involves the Tags option.
One can attach the required tags but separate them by using semicolons. These tags are like keywords for finding specific files from messy folders.
OneDrive

The tagging feature that exists for OneDrive is applicable for photos only. One can select any image for attaching the tag. You will notice the ‘I’ icon while hovering over any image.
One can attach tags when the sidebar appears on the right-hand side. For search, you can mention the tag on the bar and obtain the file you found.
Dropbox
You must select all the files by tapping the checkbox near them to attach the tag. The available field section will appear; you must mention different tags in the right panel. The option is available on the right-hand side. It is mandatory to type the format “#tag_name” to find the file.
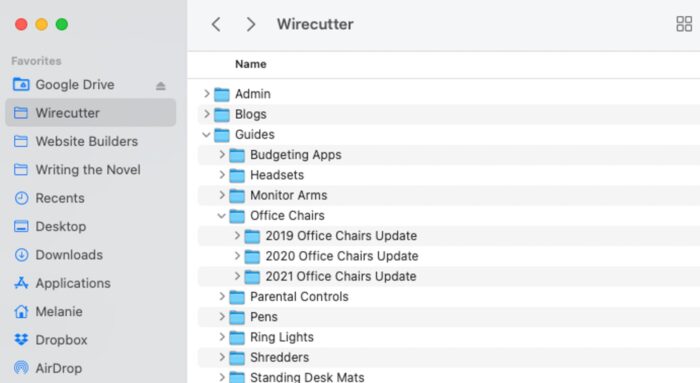
Google Drive

The Google Drive app labeling feature applies only to paid plans. It is perfect for administrators to opt for this feature if they manage files at an organizational level. There is a restriction that you add five labels only to a single file.
When you explore the interface of Google Drive, you will notice an ‘I’ symbol in the upper right corner. Afterward, you must select the file for attaching the tag and tab on its Description section. Make sure you add tags starting with # and separate them with commas.
Third-party Applications
Consider using third-party applications’ free or paid versions for file organization. Tagging is applicable in these apps that you can use for labeling, easy searching and accessing specific files from bulk folders. One can also attach the files in the app and give a tag to them.
Whenever you must find any specific file, you can easily enter the tag info, and you will get the desired files. It can ease your work and simplify things for people at an organizational level.
2. Brainstorming and Cleaning of Tags

When you are done with tagging, you must narrow them down for easy access. Depending on the categories, you can think of various ideas regarding the tags. You can consider the document’s purpose, client details, department, personal use, project type, event, genre, etc.
It is better to choose the tags that you remember easily and categorize files accordingly. Based on your concepts and thoughts, you can determine the tagging details. One can find similar files and clean them up to get extra storage space through a single tag.
3. Develop Tag Hierarchy
If you have a bulk folder containing many files and are clueless about the name of the specific file, you will feel trapped and confused. But you can simplify things by finding the one with its tag. But you will still waste time finding the required folder if you do not remember the tag name.
But setting up your hierarchy can make things work. It is better to combine your tags with folders and make categories. Consider the list, make groups to sort them, and develop folders containing specific files.
4. Build Automation

Your tags will be time- or action-based, perfect for automation in various folders. But you can utilize automation to keep migrating files in the folders and manage your files as required.
The files in the folder will keep changing as per your current project. All the files you found will be moved to a different folder so that you can focus on those during your current project.
5. Do a Test Run
When you complete the automation and build the tagging system, you must test them patiently for a few days. You must check whether you get the desired files by searching them through the tags. If you are experiencing any issues, you must figure them out immediately.
6. Check Your Tags
After trying and testing your tags, you must determine the ones you do not use for removal. Changing some tags that do not fit well into your workflow is mandatory. With time, you must keep automating your file organization system to make things run smoothly.
Final Thoughts
Windows tagging is perfect for managing bulk files through labels. One can follow the mentioned steps and organize all folders and files on the computer efficiently. It is commonly used in many companies to manage bulk files and avoid data loss. It is an easy way to manage thousands of folders effectively.